
Choose your catalogue
Enable the brands you sell, and add your own frames, beams and services.
Baylogik ships with the Dexion, Colby and Schaefer ranges loaded — frames, beams, accessories and bay kits — with their compatibility groups. Other brands you'll meet in Australia and New Zealand are listed too, most without products yet; add your own parts and prices for anything else you sell.
Where a manufacturer's capacity figure is loaded, it shows with its source. Where it isn't, the part says not certified. Capacity is never worked out from dimensions.
You decide which of it your team sees. Only enabled brands and categories appear in the designer, so estimators can't quote something you don't sell.
Step 1: Open the catalogue
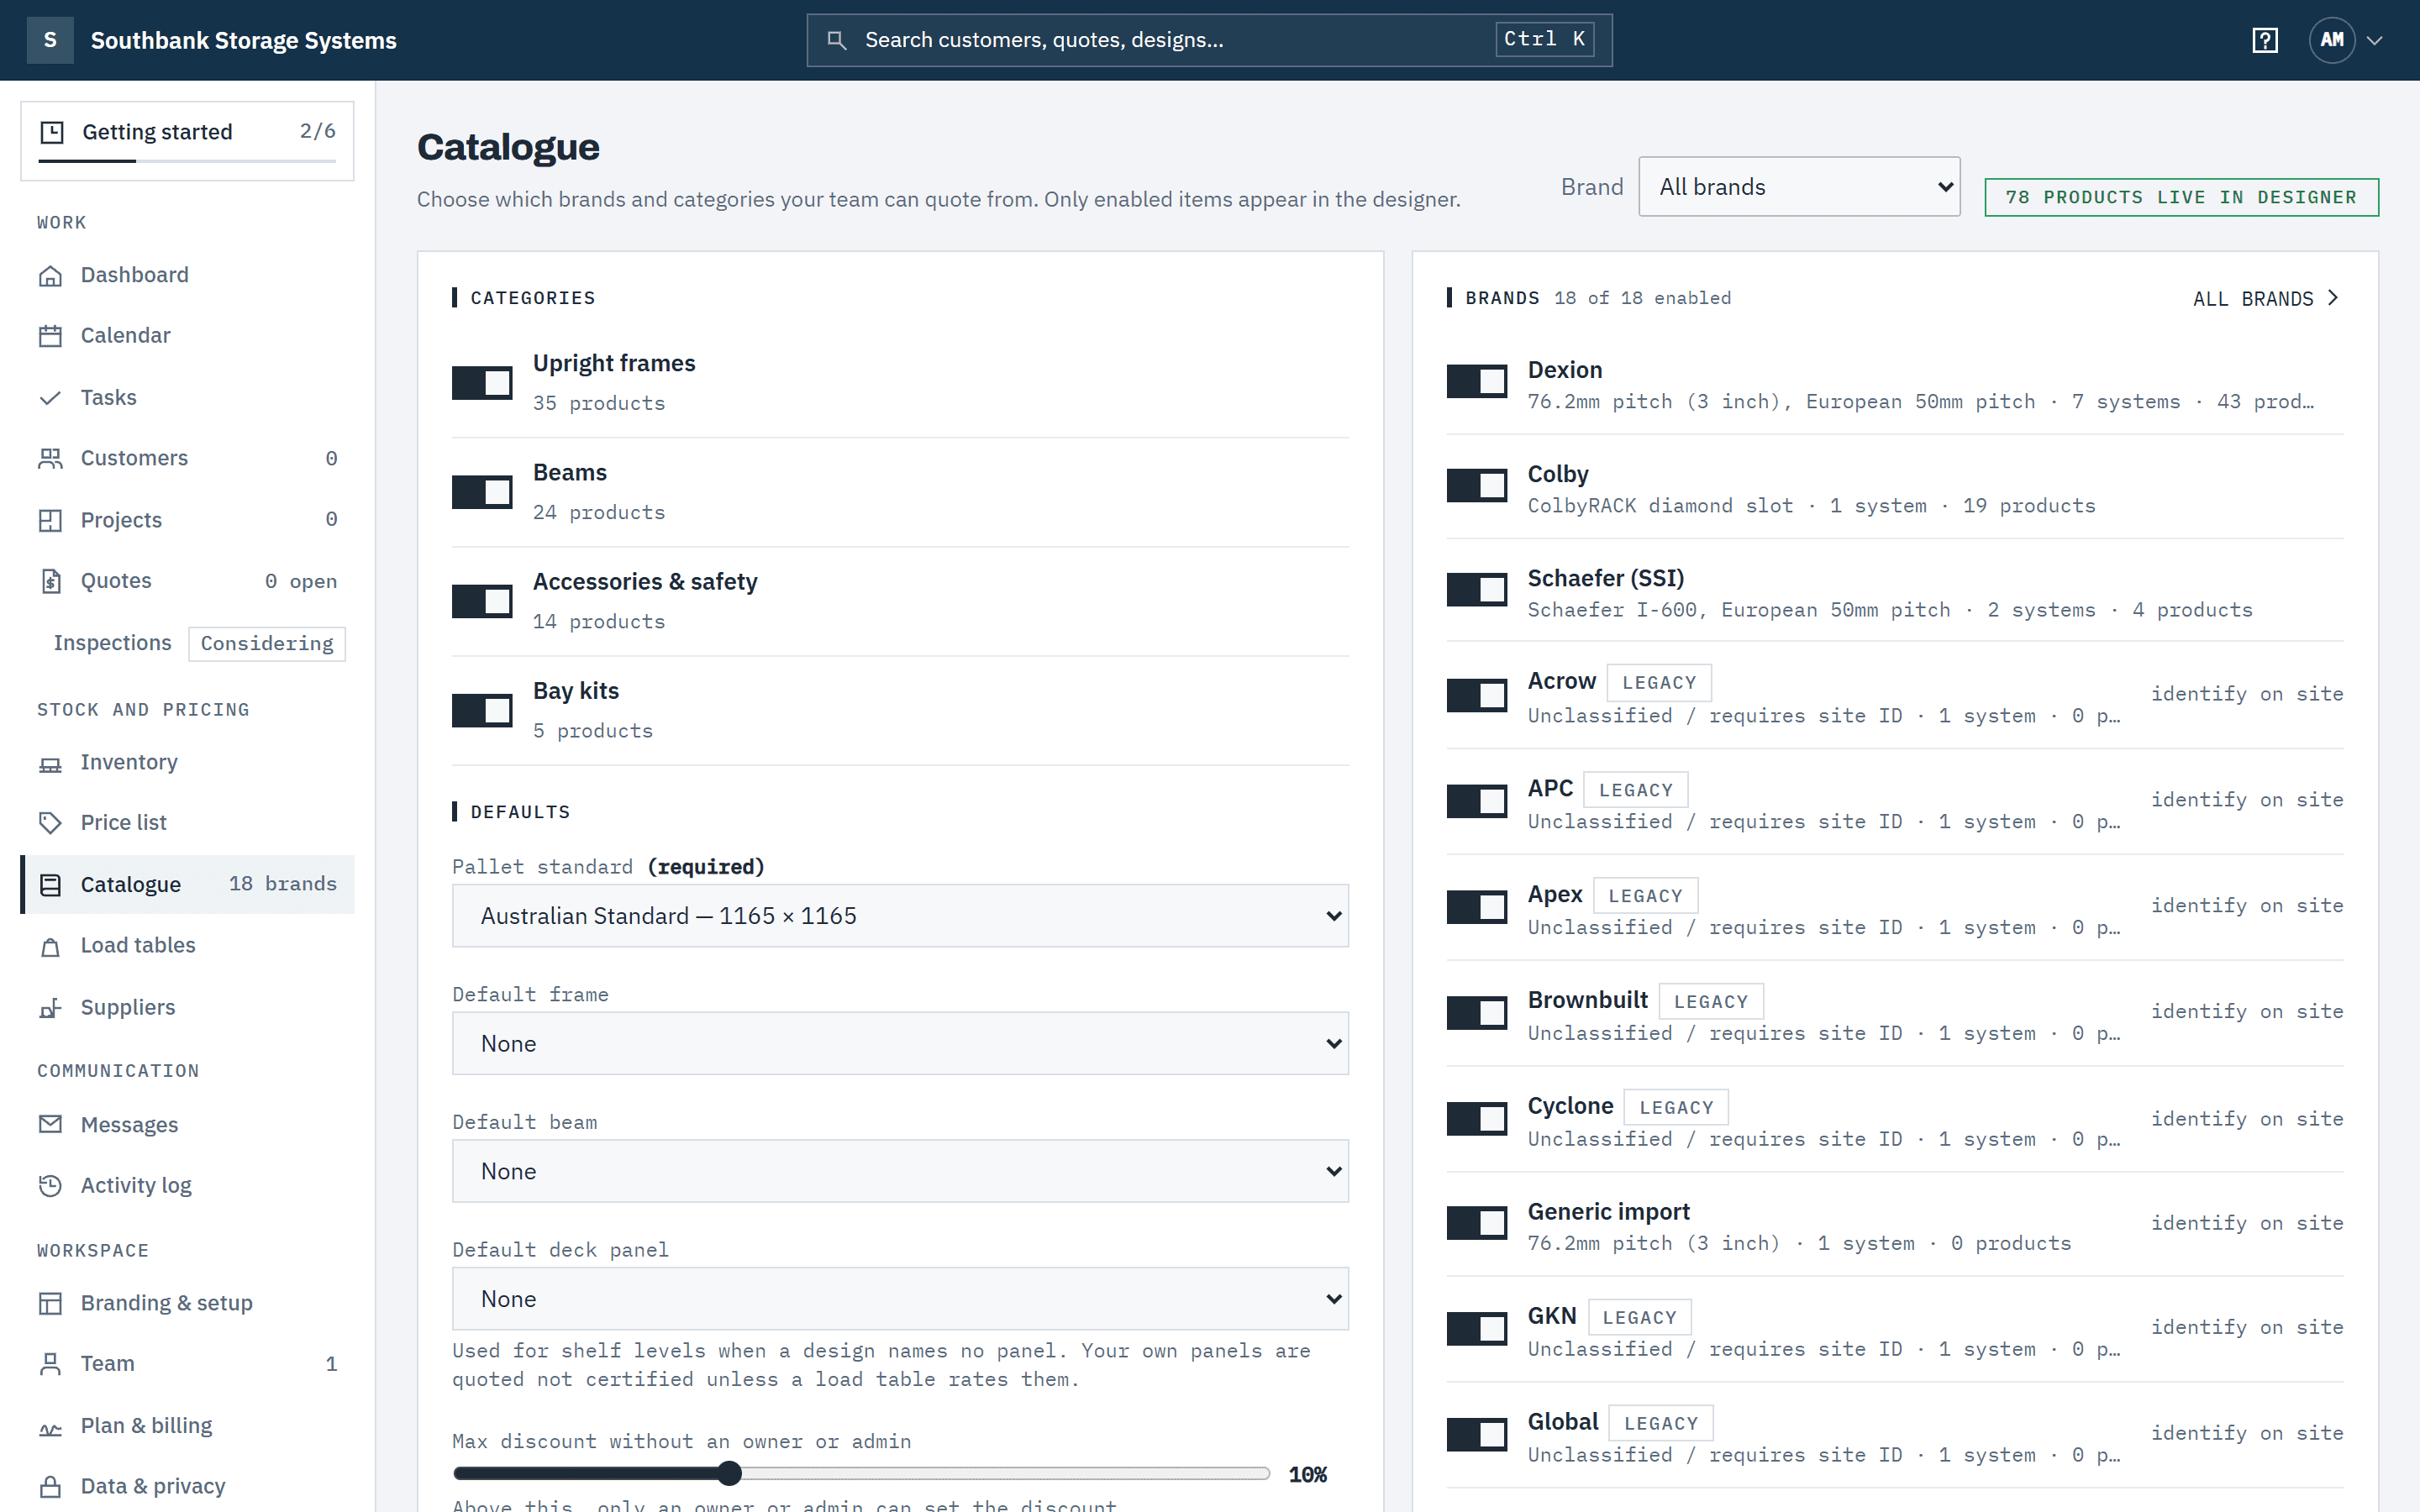
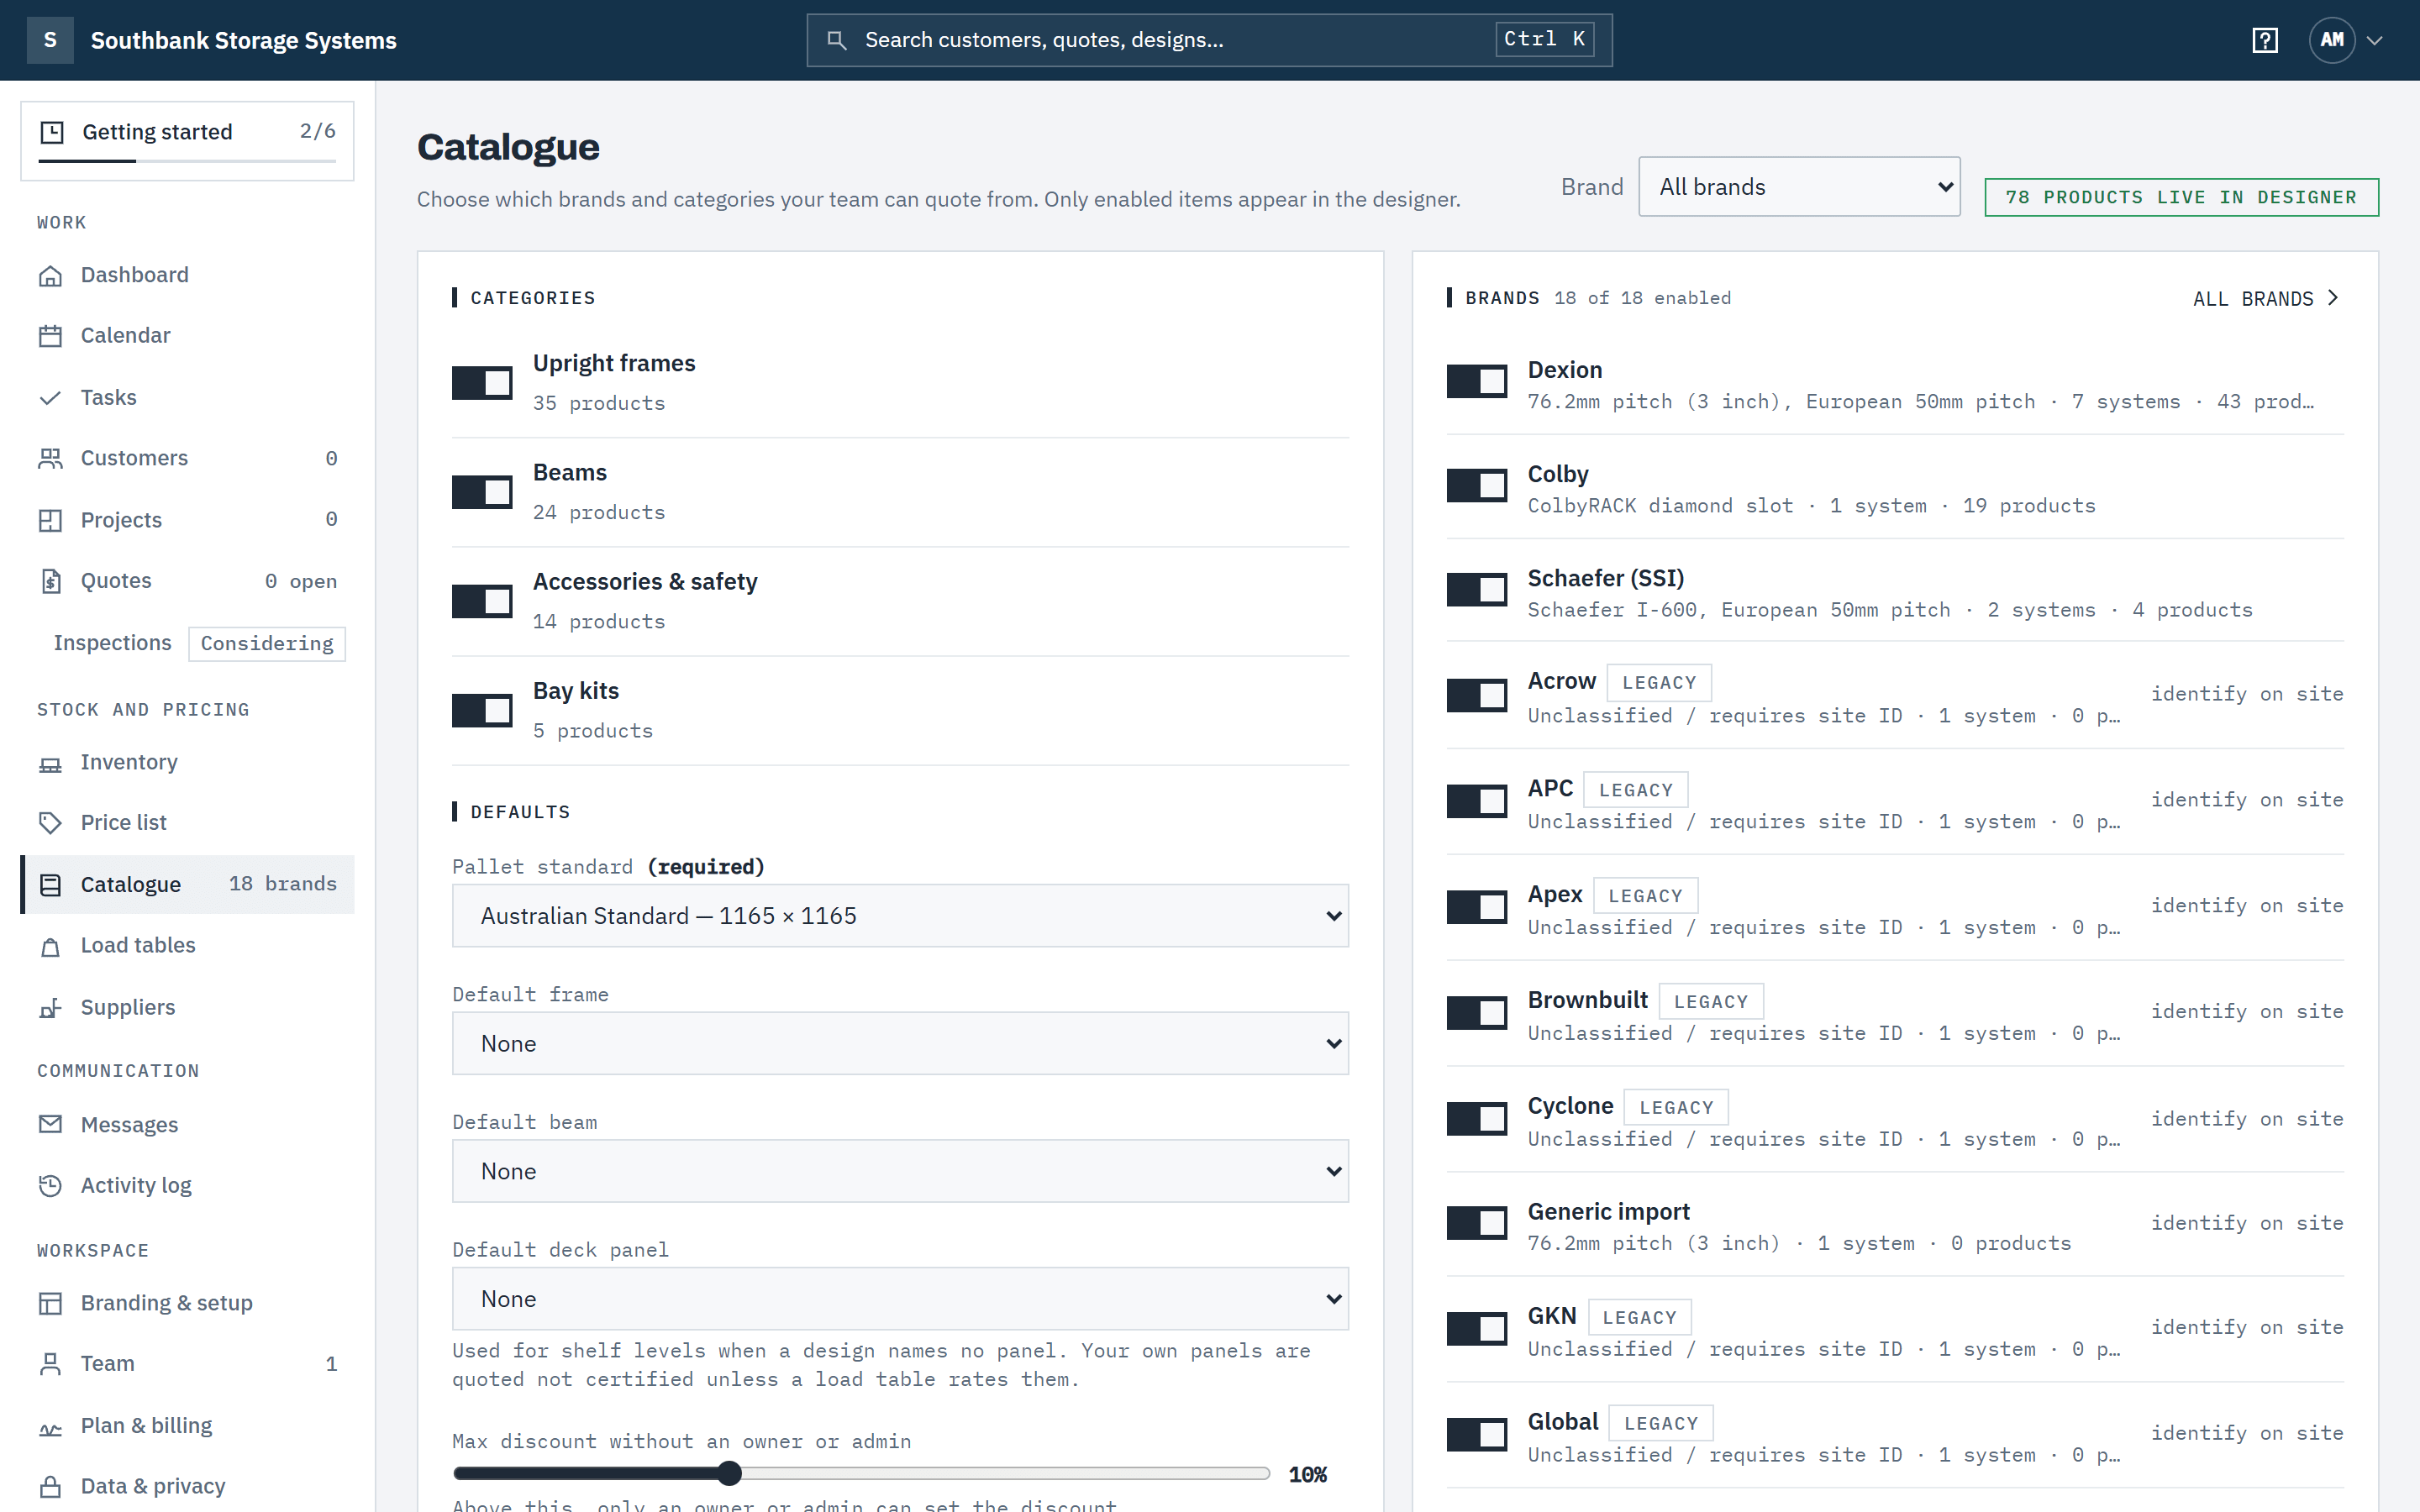
In the navigation, under Stock and pricing, choose Catalogue. The pill at the top right shows how many products are live in the designer right now, for example 78 products live in designer.
 (opens full size in a new tab)
Enable the brands and product categories you sell; only enabled items appear in the designer. Step 2: Switch categories on or off
Under Categories, use the switches for Upright frames, Beams, Accessories & safety and Bay kits. Each shows how many products it holds. At least one category must stay on.
Step 3: Enable the brands you sell
Under Brands, switch off anything you don't supply. The heading counts what's on, for example 18 of 18 enabled. Each brand lists its systems, beam pitch and product count. A brand the platform adds later is on unless you switch it off.
Brands tagged legacy and identify on site are older systems you may meet on a strip-out or extension; they need the components identified on site before you rely on them.
Step 4: Set the defaults
Under Defaults, choose the Pallet standard (required), and optionally a Default frame, Default beam and Default deck panel for new designs, and set the Max discount without an owner or admin. Then choose Save defaults. The deck panel can be a catalogue decking panel or one of your own accessories; your own panel is quoted not certified unless your load table rates it. Who sees cost prices is decided by role, not here; see Roles and permissions.
Step 5: Look at one brand at a time
The Brand selector at the top filters the page to one brand: one of yours, a platform brand, or Generic (no brand). All brands shows everything. Baylogik remembers your choice for next time, and the price list, suppliers and exports use the same selector. It's a filter only: a quote can still mix brands.
Brands
A brand is what's printed on the steel. Platform brands such as Dexion come with the catalogue; your own brands are the ones you add, either your house brand or another maker's brand that isn't in the catalogue. Choose All brands on the catalogue's Brands card to open the Brands screen.
Step 6: See every brand in one list
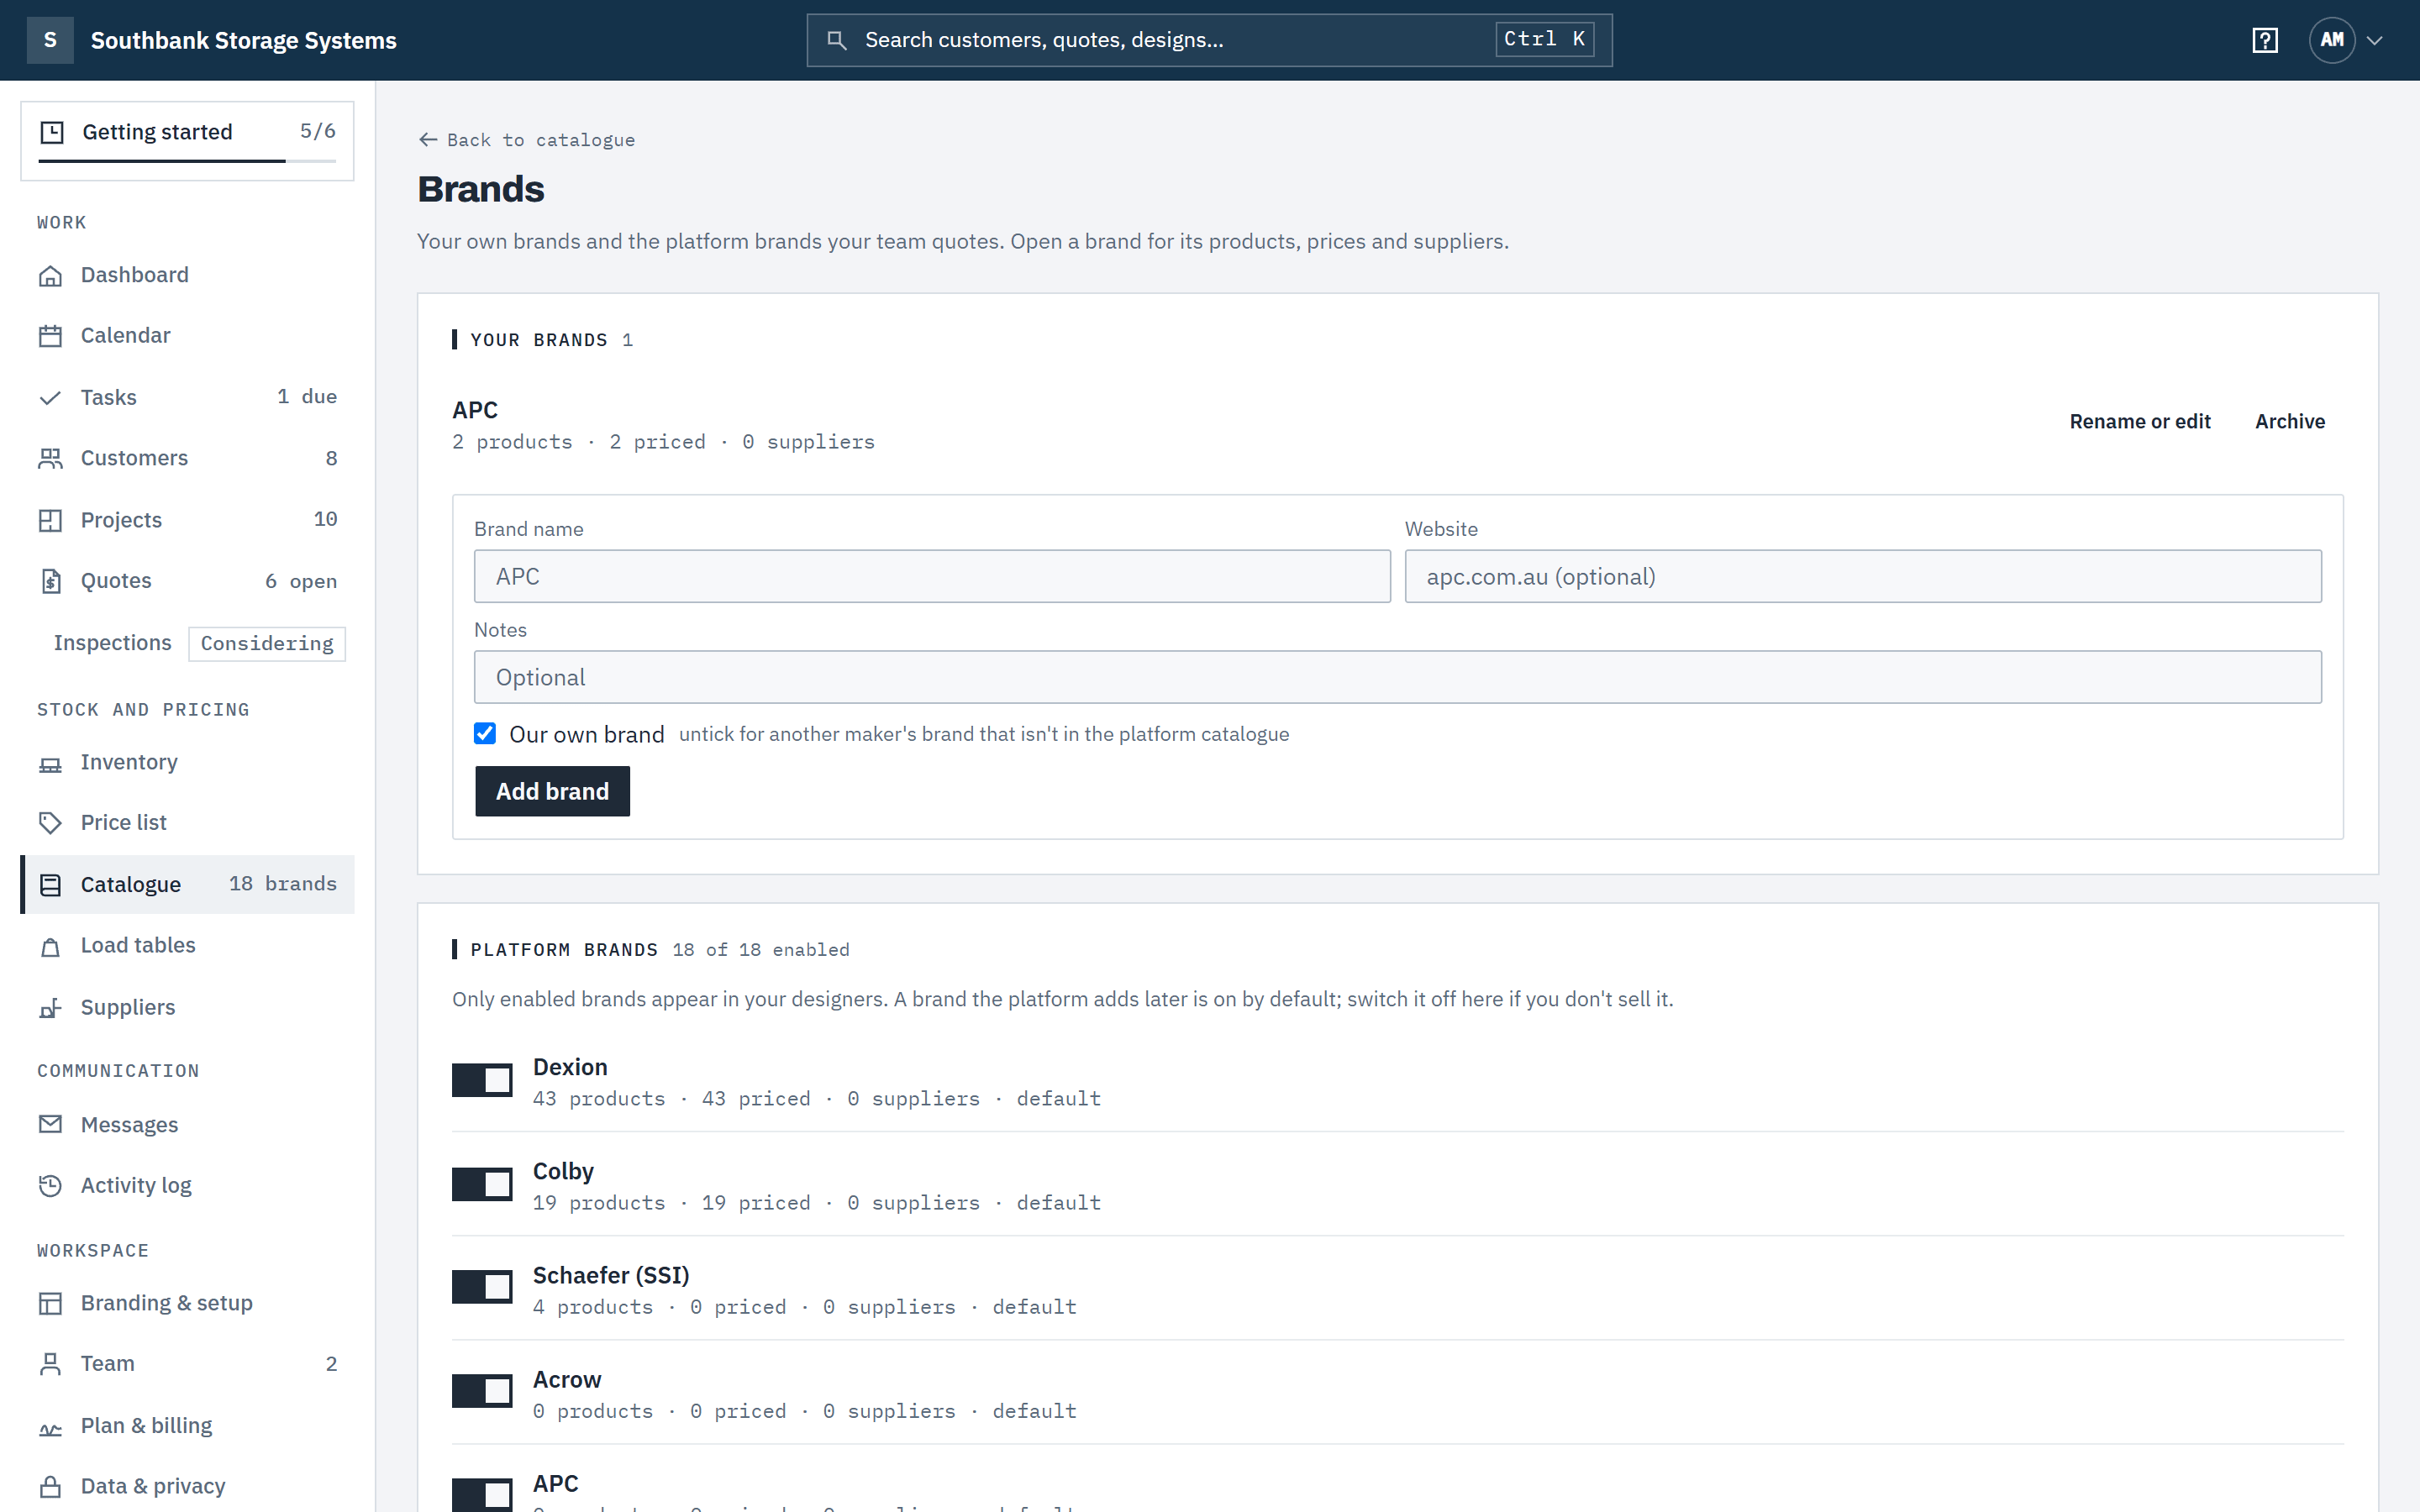
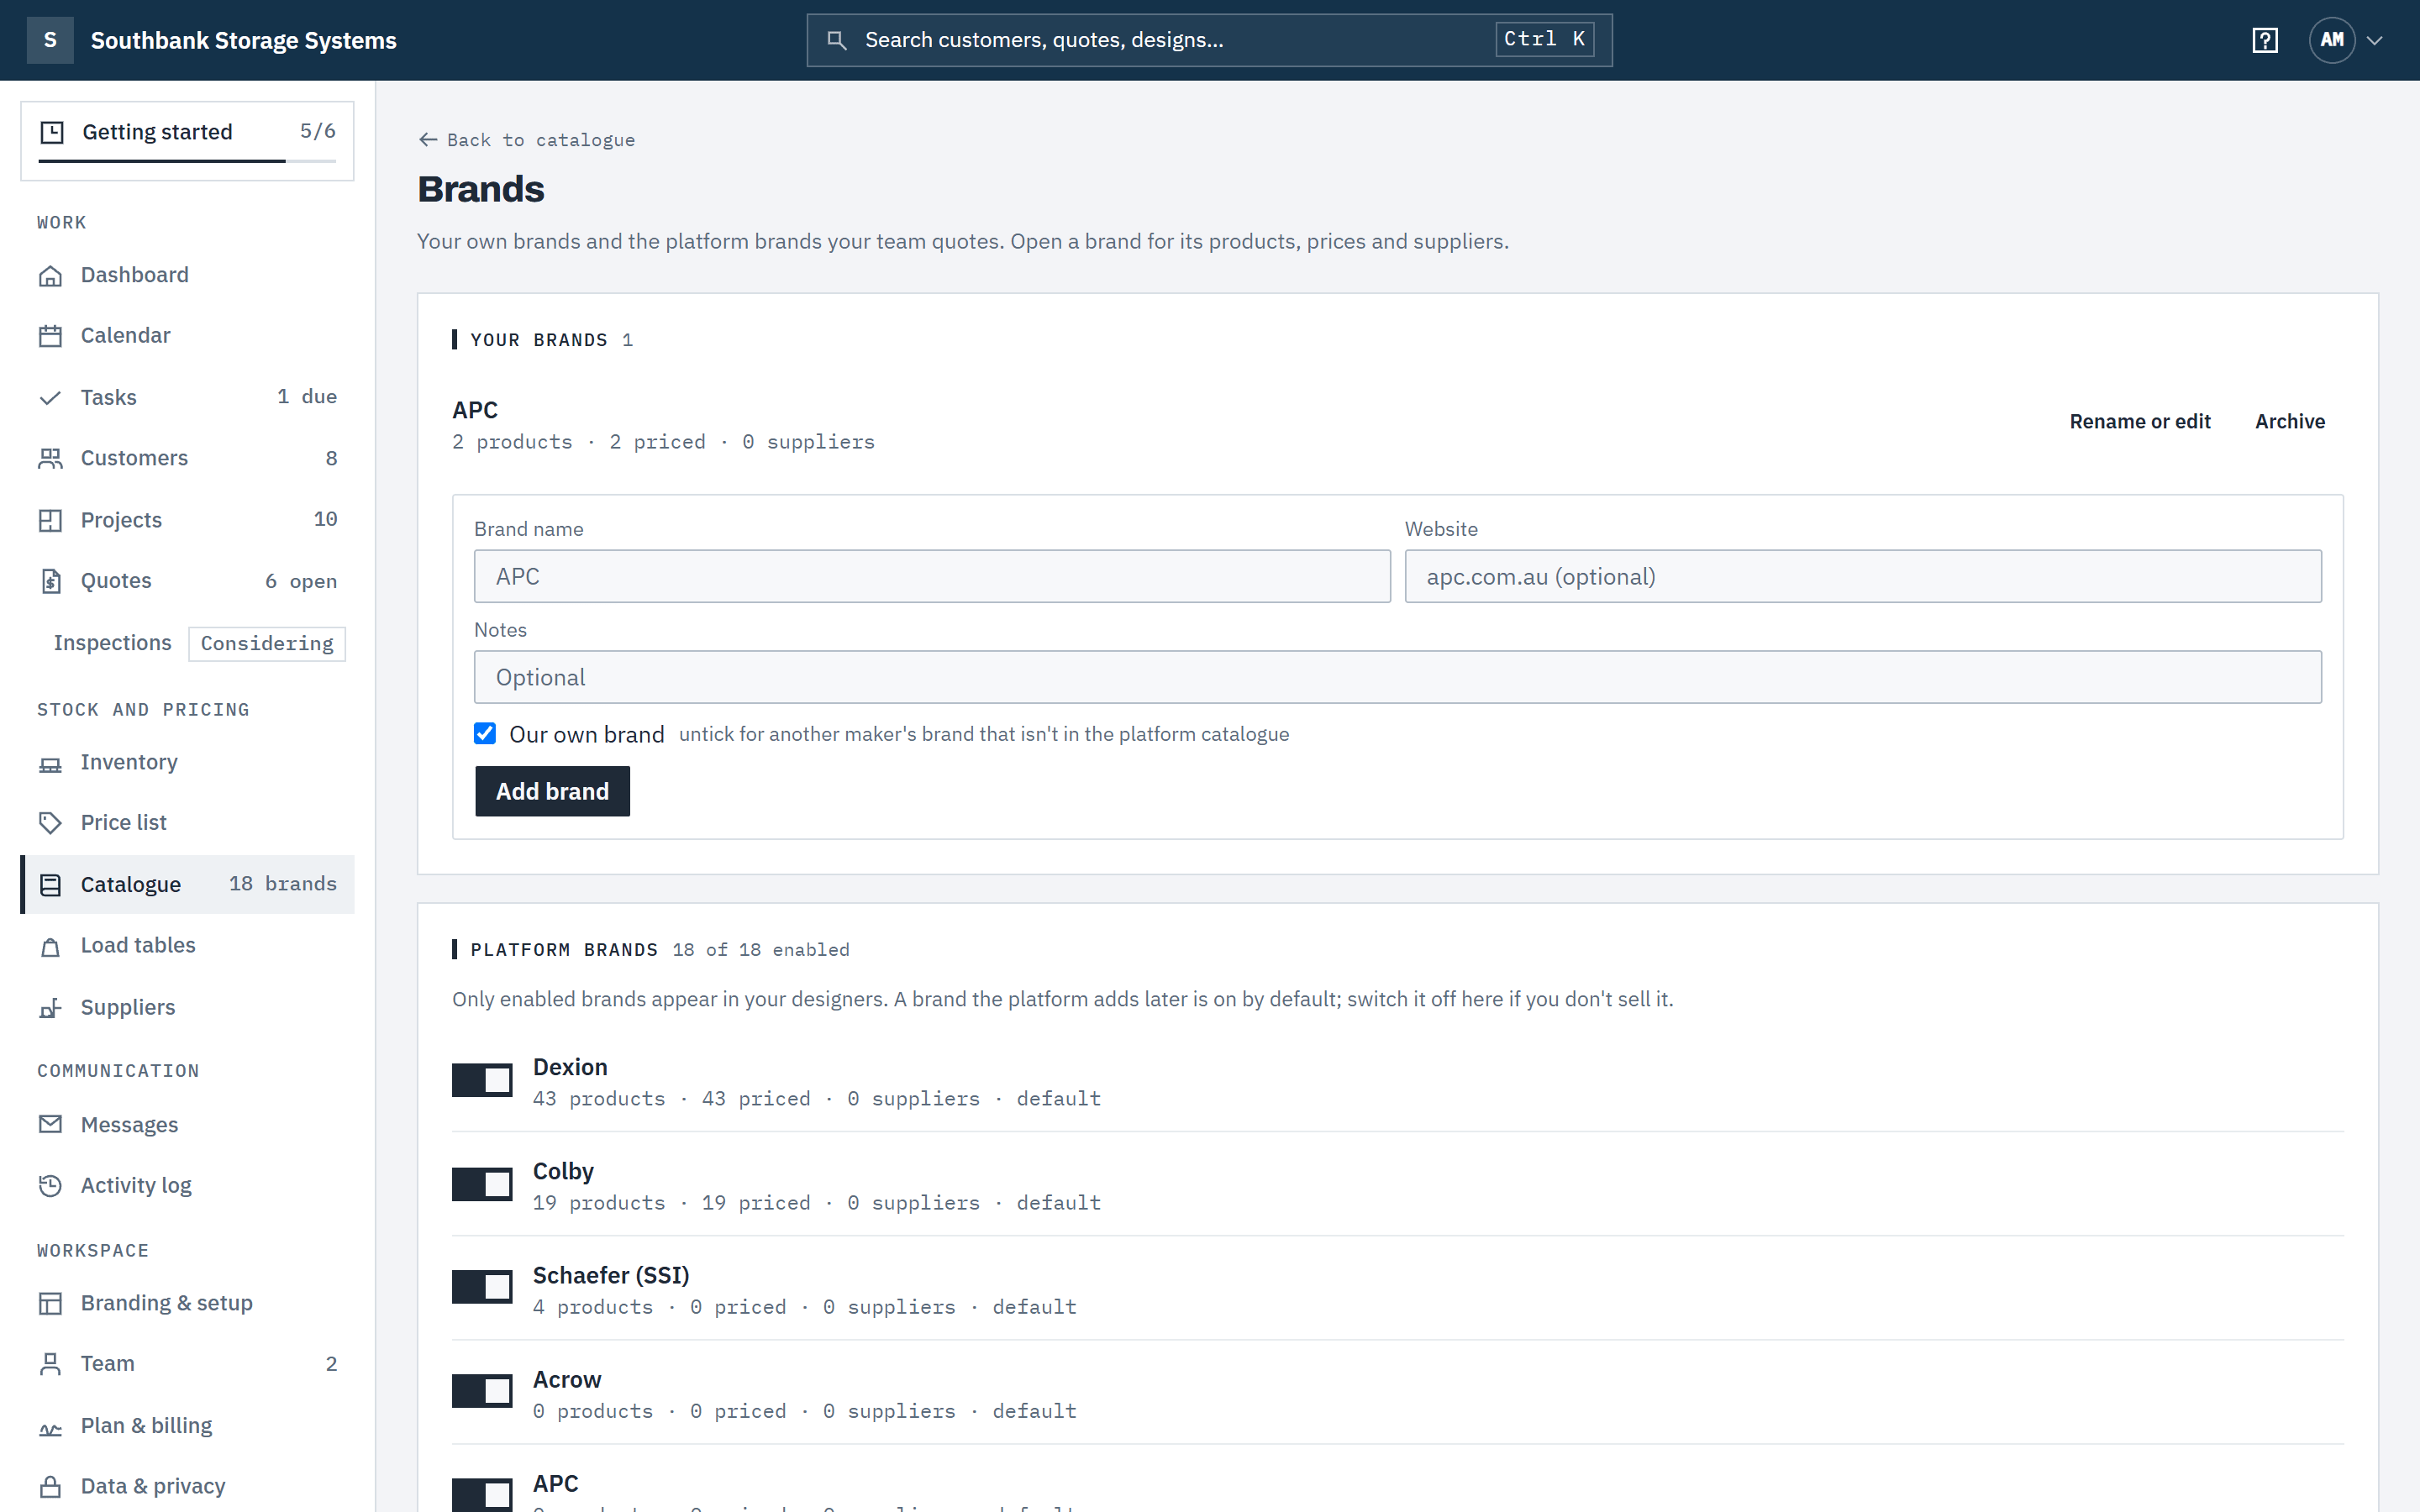
Your brands come first, then Platform brands with their switches. Each row shows how many products the brand has, how many are priced, and, if your role can see suppliers, how many suppliers carry it and its default supplier. A platform switch you've set by hand shows Use default to hand it back to the platform's setting.
 (opens full size in a new tab)
Every brand in one list: your own brands first, then the platform brands with their switches. Step 7: Add, rename or archive your own brand
Under Your brands, enter a Brand name, an optional Website and Notes, and choose Add brand. Untick Our own brand for another maker's brand that you sell. A brand is also added for you the first time you give one of your products a new brand.
Rename or edit changes the name, and the new name shows on your products and on new quotes. Designs, pairings and compatibility don't move, because a brand keeps the key it was created with. Archive takes a brand out of the pickers; its products stay in your designers and on quotes. Restore brings it back.
Step 8: Open a brand
Choose a brand's name for its page: products, priced products and suppliers, with links to the catalogue, price list and suppliers already filtered to that brand. From there you can export the brand's prices as CSV or XLSX, export or import your own brand's products, switch a platform brand on or off, and set its Default supplier, which is picked first when you import that brand's prices.
Your own frames, beams and services
On every plan you can add parts that aren't in the catalogue: your own frames and beams, which then appear in both designers, and labour, freight or install items for your quotes. They're yours only and carry your own brand label.
Step 9: Add a product under My products
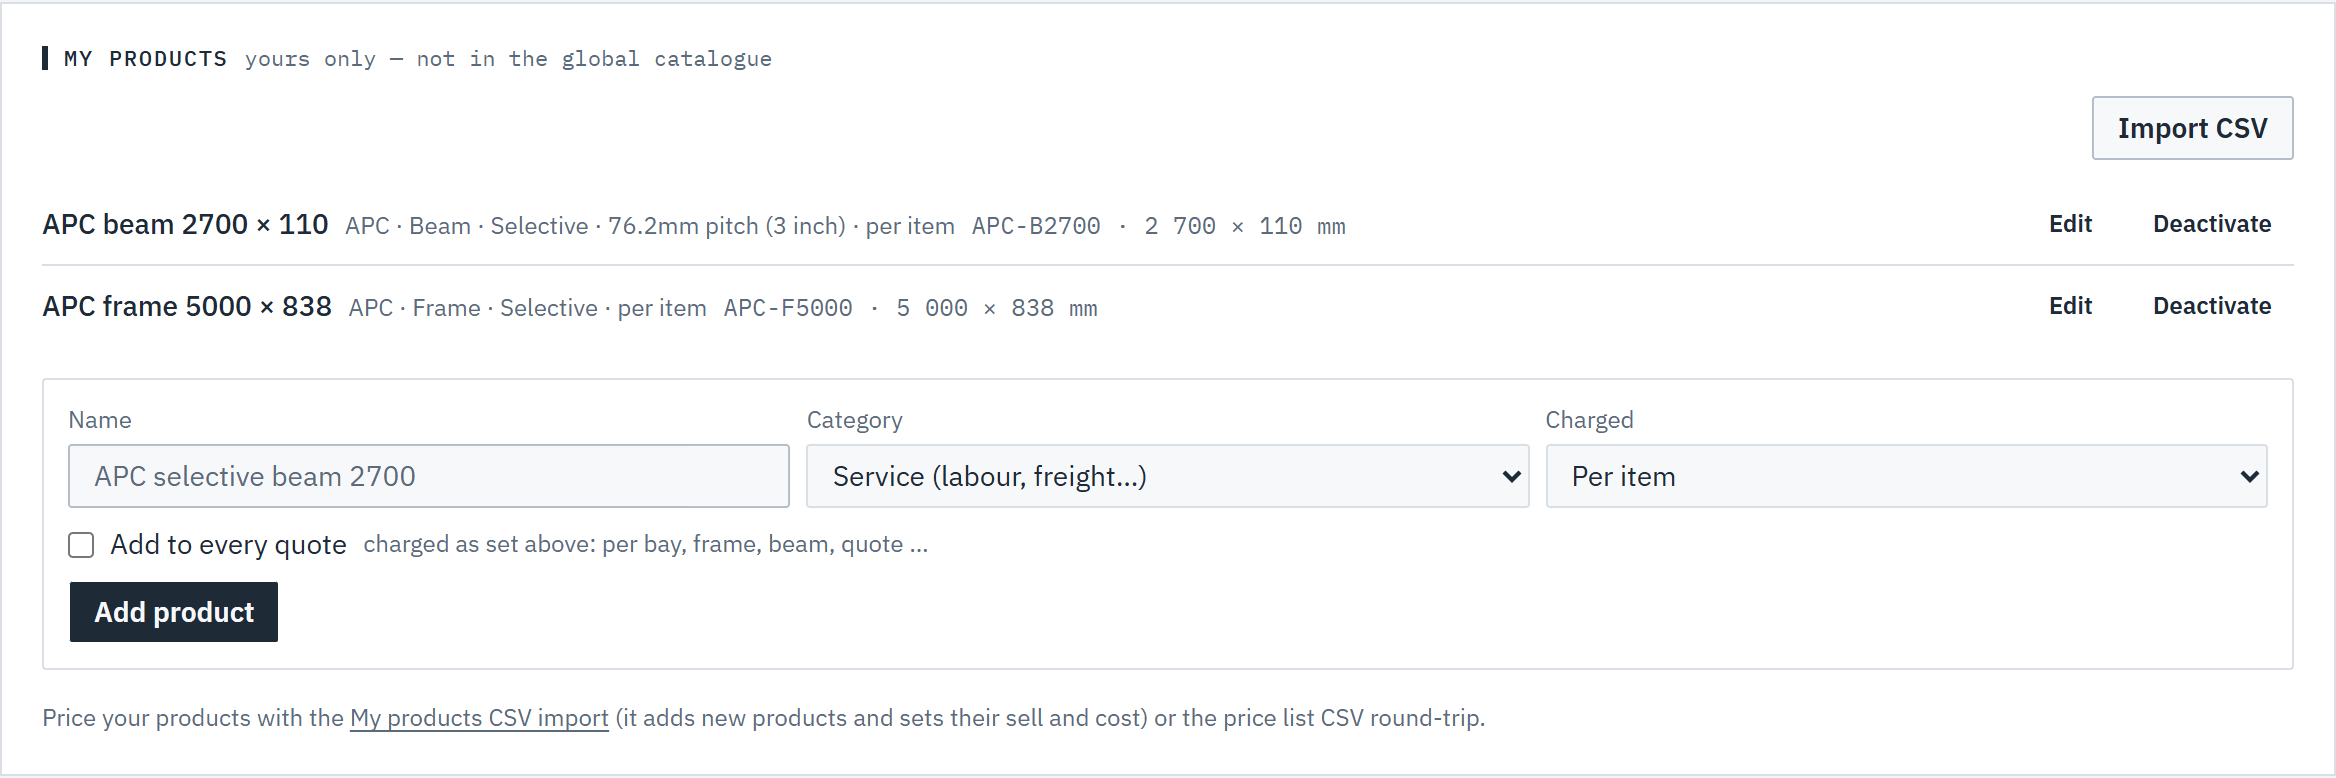
At the bottom of the catalogue, under My products, enter the Name, the Category (Frame, Beam, Accessory or Service (labour, freight…)) and how it's Charged: per item, bay, frame, beam, project or quote. For a frame or beam, add Your brand, an optional Part number and System, and its dimensions: Frame height and Frame depth, or Clear entry and Face height for a beam. Then choose Add product.
For a frame, also enter its Upright width (mm) from the manufacturer's data, so the designers add one upright per frame to every run's length. Without it, runs count clear entries only and the designer warns Upright width not set.
Your brand suggests the brands you already have. Type a new name and the brand is added when you save. Leave it blank and the product goes under Your products.
Tick Add to every quote on a service, such as install labour or freight, or an accessory, such as a row spacer, to have it added to every quote on its charged basis. Leave it unticked and it isn't added to quotes.
Edit changes a product later; Deactivate takes it out of the designers without deleting it. Give it a sell price on the Price list, or import it with its prices (next step). See Price your racking.
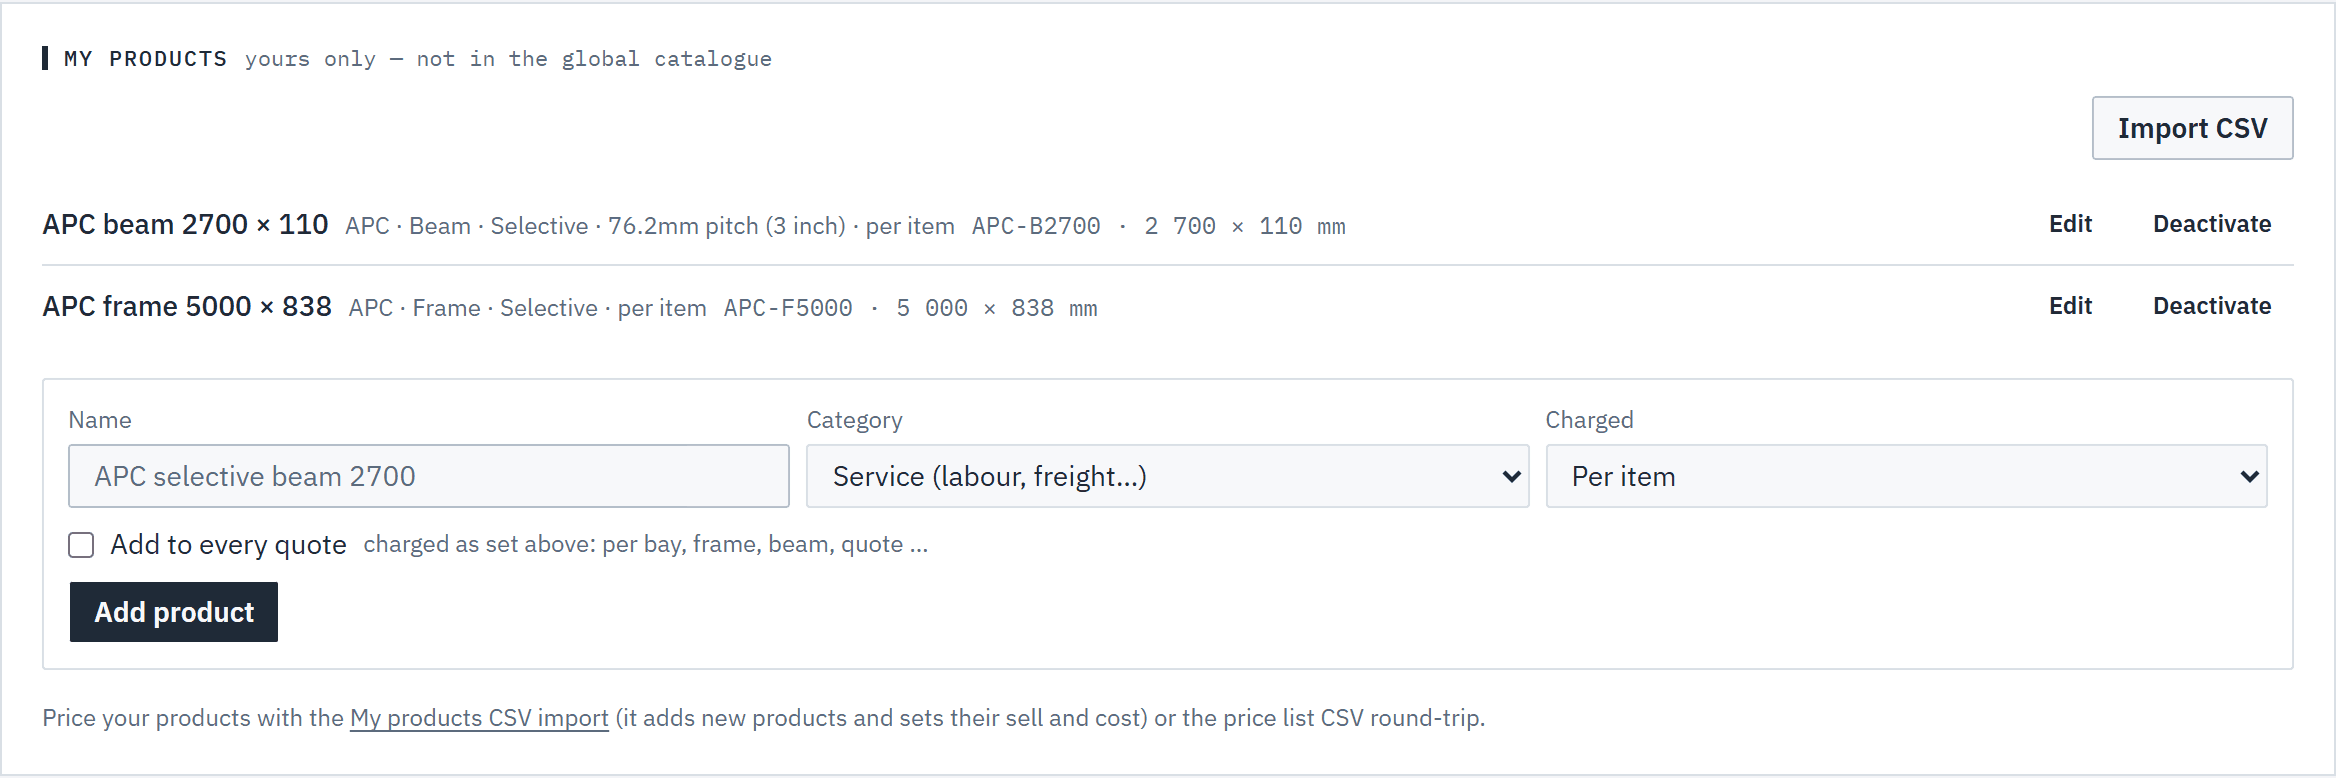 (opens full size in a new tab)
Your own frames and beams carry your brand and dimensions — never a capacity of their own. Step 10: Say what it pairs with
Compatibility group lets your frame or beam pair with catalogue brands in that group; None — pairs with this brand only keeps it to your own parts of the same brand. Same brand as marks it as your own SKU of a catalogue brand. In the designers your parts are grouped under {brand} · your product, and mixing brands in a bay still raises the AS 4084.2:2023 Cl. 5.6.4 warning.
Step 11: Import a list from a spreadsheet
Choose Import CSV to add or update many products at once, with their sell and cost. Columns: name, category, brand, same_brand_as, system, part_number, compat_group, the dimensions in mm (including upright_width_mm for frames), basis, add_to_quotes, sell and cost. Rows match your existing products by name. A brand you don't have yet is listed in the review and added when you apply. Review what it would do, then choose Apply import. Capacity columns in the file are ignored.
The prices go on the price list as one import. If they were wrong, open the import from the link shown after you apply and choose Undo: the prices go back to what they were. Products and brands the import added stay; deactivate any you don't want. Started from a brand's page, the import puts rows without a brand under that brand. Download my products gives you the same columns as CSV or XLSX.
 (opens full size in a new tab)
Import your own products from a CSV: check the review, then Apply import. Step 12: Rate them from your load table
Your own frames and beams never carry a capacity of their own, so they read not certified until a load table rates them. On Team and up, enter the manufacturer's table under Load tables, with its source and date. See Your own load tables.

Good to know
- Only owners and admins can change the catalogue. Everyone else sees it read-only.
- Your own frames and beams work on every plan. A beam added before they could be used in the designers shows Enter clear entry and face height and can't be picked until you do; a frame without its height and depth shows Enter frame height and depth.
- A disabled brand or category disappears from the designer's pickers. It isn't deleted: switch it back on and it returns with its prices.
- Each bay is built from one compatibility group. Mixing components across brands raises the AS 4084.2:2023 Cl. 5.6.4 warning (non-OEM components) in the designer: confirm the combination with the manufacturer before quoting.
- Estimators and finance can give a discount up to the maximum. Above it, an owner or admin has to set the discount and send the quote. See Discounts and end dates.
- Baylogik lays racking out and quotes it from manufacturer data. It does not engineer, certify or warrant it: engineering sign-off, capacities and load signs stay with the manufacturer or your engineer.
- Further reading: the SafeWork NSW pallet racking fact sheet and forklift safety guidance, and WorkSafe Victoria's pallet racking operation and maintenance guidance. They're written for the businesses that run racking, and are worth passing on to your customers.
Related articles
- Price your rackingCost, sell and margin, lead times, and editing prices in Excel.
- Your own load tablesEnter manufacturers' load tables with their source and date, so your parts are rated from them (Team).
- Design a layoutRooms, racking choices, walkways and the 3D view.
- Invite your teamInvite people, give them a role, and change or remove access.